Today was a fun day! My sweet friend
Katie is pregnant with ther third child and due any minute now. Myself and four friends who love Katie to pieces put together this darling bird themed shower to celebrate the newest member of her family.
We had a great group of Katie's friends from all over and family over to celebrate Emily and "feather her nest". :)
Lots of pictures here... You ready?
Ok, here we go..
Before you do anything you best be signin' in to wish baby Emily some sweet sentiments. :)


Ok, now that you've signed in we can move forward. ;) Isn't this the cutest dang "E" you've ever seen? I hate to brag, but its not often that I see the letter E and say "awwwwwww", but after I made this I whispered a long one. ;) This was one of many DIY projects from this party. Easy peezy...just get yerself a paper mache letter from the craft store and wrap it in yarn...round and round and round until you're done. I embellished with felt birds and felt roses. I'm sure there is a tutorial online somewhere...I just kinda winged it, but I think it turned out pretty cute. (shower decorations/baby nursery decor afterwards...gotta love those two-fer deals!)

First up, the dessert table (naturally).


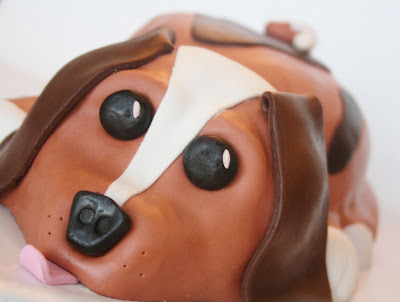
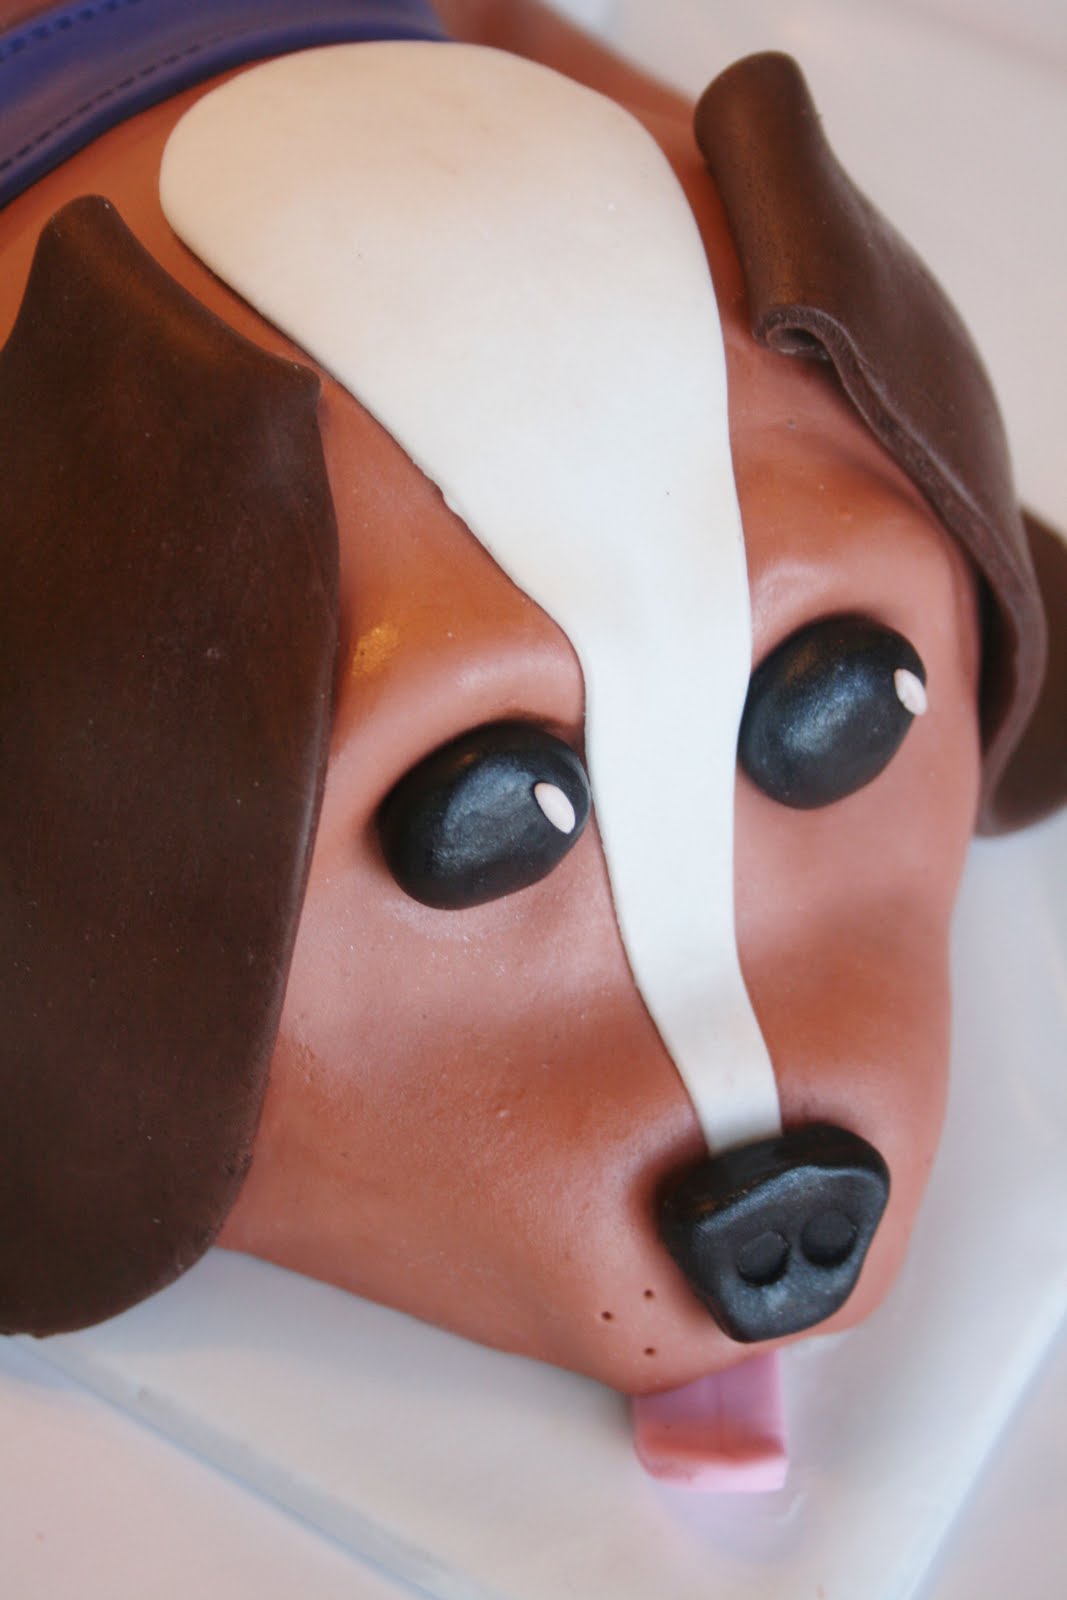
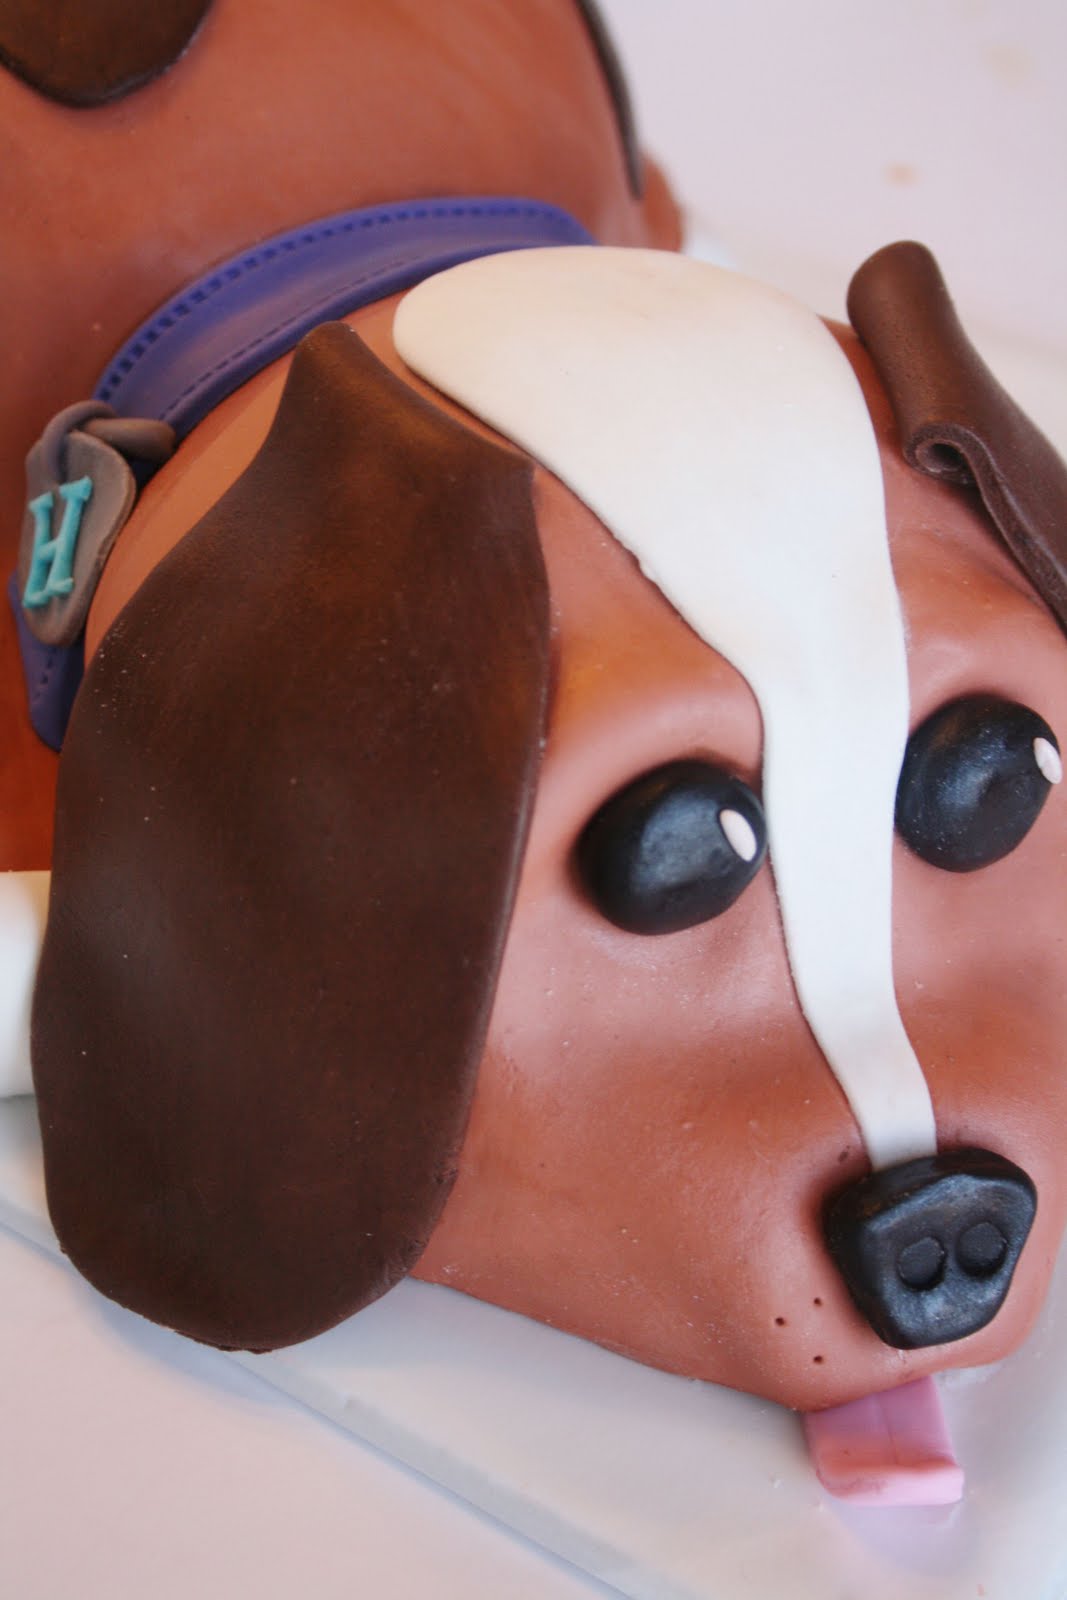
The cake...


Mom and Dad above and sister and brother (as little baby chicks) on the bottom tier...


Sugar cookies covered in a layer of buttercream and then topped off with marshmallow fondant.


Check out Paula Deen's recpie for Cookie Dough Truffles. Oh my goodness, if you love cookie dough, well, you'll love these!!! (there wasn't a crumb of a truffle left in the house after this party)


These pom pom cupcake toppers were another DIY project. Found the tutorial
here. Check it out!


Aren't these butterscotch bird nests the cutest!?! Fellow co-host Allison made them and they were sooo yummy. (anything butterscotch is two thumbs up in my book!)


Another little DIY project (I told you there's a lot of DIY in this party). This wreath was so cute and fun to make and will make a great decoration for Emily's nursery room door. Big thank you to my Cricut machine for cutting out the the letters and thank you to all the wooden doll tutorials I found all over the internet for this one. :)


For drinks we served pink lemonade in mason jars and of course, bottled water. Are you loving the fabric labels? I used left over fabric from the dessert table (which by the way was $1.50/yard at Walmart!!!...these labels practically paid ME to decorate the water). I just love how I justify all these little expenses...hehe
The food was so yummy!!! The other girls hosting were in charge of food and boy did they do a great job!!! The shower was at 2:00 so we decided to stick to a lite menu which included chicken salad (two types...curry and tarragon), fruit kabobs, a couple veggie dips, spinach dip, cucumber sandwiches and the yummiest cowboy caviar dip ever. These friends of mine are some gooooood cooks!!!!! :) I'm literally sitting here eating leftovers (the most delicious chicken salad sandwhich) as I type. (thats right, you should all be super jealous right about now) ;)
Never been a big fan of veggies, but how pretty do these look!?!?!
(almost makes you want to eat them doesn't it) almost
CRAFT TIME!!!
Yes, I realize this is an adult party, but whatever, crafts are good for adults too!!!
We set up a clippe making station so that each guest could make a little hair clip for baby Emily.


I created little instructions for each "step" to help guide everyone through the clippe making process. I put out ribbon and clips and each guest covered their own clip w/ their ribbon of choice. Then they chose an embellishement to make it pretty. There were buttons, bows, fabric flowers and more.

Nothing screams baby shower more than a picture of a bunch of ladies making baby bows! ;)


After food and bow making we sat down to play a quick game of memory (baby themed). This game was so much fun to play. I found the idea and instructions to make the game
here. Erica and Ashly did a great job putting it all together for us. And of course, the girls made me get my goofy butt up in front of everyone to lead the game.

The basic idea of the game is a matching game...when you get a match you get a candy prize based on the match you made. For example...when you find the match to "contractions" you get a box of Whoppers. Epidural match gets the candy Lifesavers. I think you get the idea. Head over
here for more candy ideas if you

want to recreate!!!


When all the crafts, games and presents were finished I made the mommy to be (who really wants her baby to be born soon) as well as all her guests do 25 jumping jacks and 4 running laps around the house.
(kidding!!...just wanted to get your attention, make sure you're still reading)
Each guest was sent home with a little treat for their birds at home.

These little bird seed ornament favors were not only cute, but totally inexpensive AND useful!! Our poor birds outside need all the food they can get in these harsh winter months
(wait, wasn't the high today is in the 60s? Whatever...not everyone lives in Atlanta.). Go
here for if you'd like to make some for yourself.
And last but not least, all the hostesses with the mama to be.

Happy baby shower Emily!!!
We can't wait to meet you little lady!!!

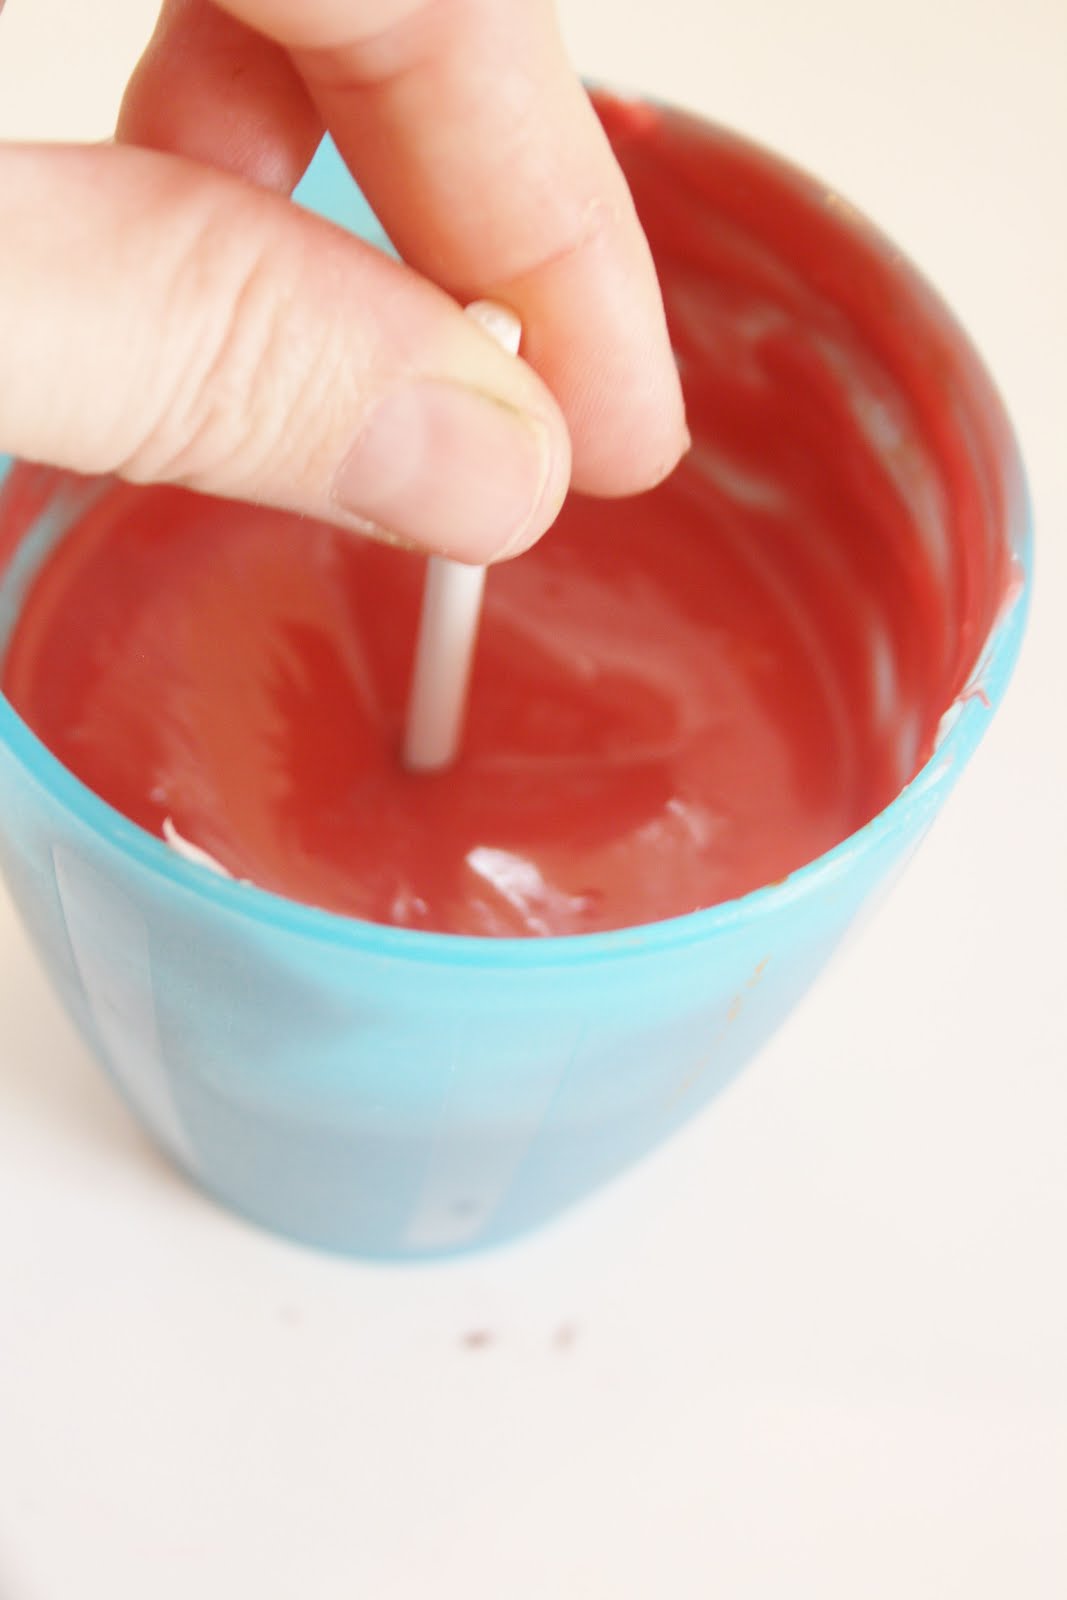
 I can't think of any better cupcake topper than a cake pop. Can you?!?!?


 These cuties are so easy to make! All you need is cake, icing, lollipop sticks, candy melts and a little heart cookie cutter (mine is about 1.5 inches).


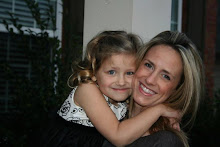
 Wait! Pause! Bring it in a little closer. Look how sweet and precious that little baby is!?!? Whose children are those?! Oh wait, their mine. ;)


